


Frequent foodstagrammer shares her tips
The real question is: if you didn’t Instagram your food, then did you really eat it?
Two-years-ago, I became an avid baker, and Instagram was my way of displaying my creations. After posting a few photos of fat, bakery-style cookies and receiving positive reactions ranging from “Do you deliver?” to “That’s it, I’m moving in,” I decided it was time to create my own bakery. Thus, I jokingly created an Instagram location and called it “my nonexistent bakery.”
After posting over 70 pictures of food on my account, I’ve mastered how to take the perfect foodstagram. If you pay attention to these helpful hints, you’re bound to rack up some likes, too.
Step 1: Setting Up
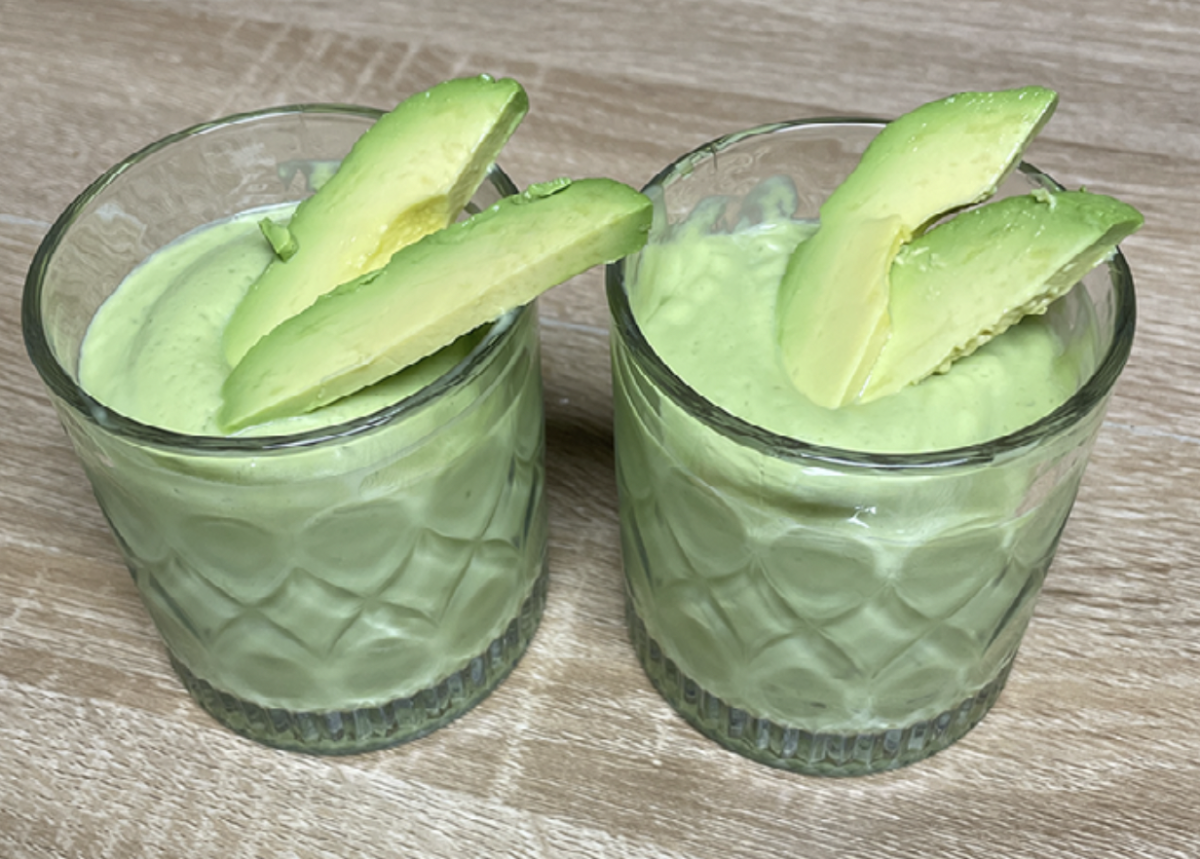
Go straight to your iPhone camera, not Instagram, and take a few shots. Think about what part of the dish looks the best. If it’s the plate as a whole, go for an aerial view. If it’s just a brownie on the plate, take a shot up-close to show how gooey the chocolate chips are inside.
You may also want to add an appropriate drink into the background of your dish – milk, orange juice, hot chocolate, etc. – to complete the dish and overall look.
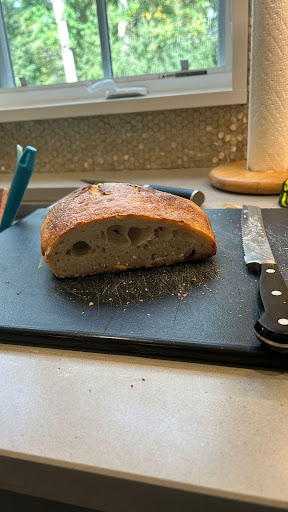
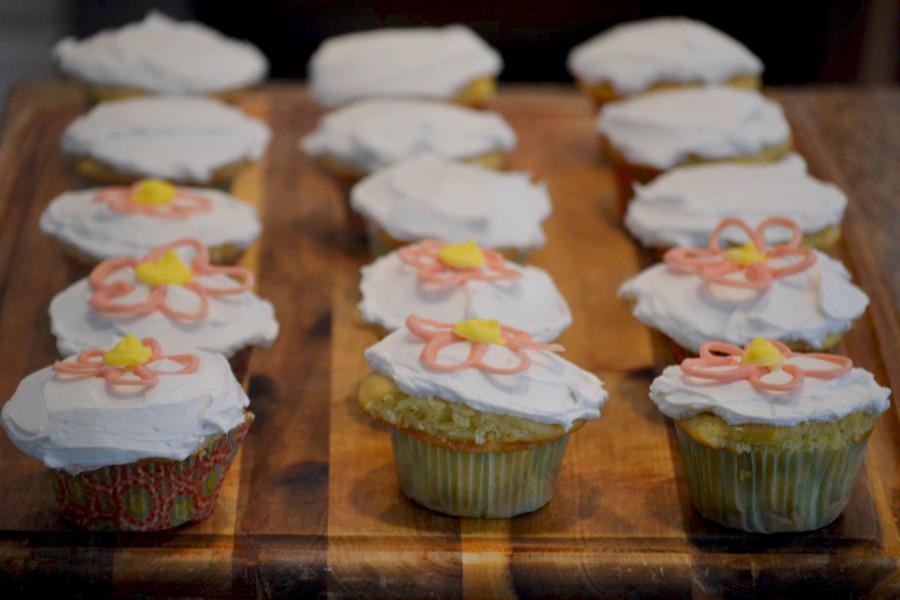
Also, keep in mind the phrase “the simpler the better.” I love putting my creations on white plates or wood cutting boards.
As for lighting, try to photograph your food in natural light, outside or near a window.
Step 2: Acceptable?
Whether it’s a batch of cookies you whipped up, or a tray of burgers and fries at Shake Shack, it’s important to think, “Would I be jealous if someone else Instagrammed it?” That’s really the reason we Instagrammers post, isn’t it? If the answer is “no,” delete the picture immediately.
Step 3: Whitagram
Now that you have a good picture, download the app Whitagram. Whitagram lets you edit and give the photo a clean white background so it doesn’t have to fit that perfect Instagram square. I’m a fan of the specific “enhance food” setting. It brightens the food up in all the right ways. The “Ludwig” filter is always a crowd pleaser.
Step 4: Caption it
If if you are a pun-ny person, a pun is always a great pairing with a food picture. A pun-ny friend of mine once said, with a strawberry ice cream cone in her hand, “This is a berry good night.”
But, all of us aren’t that gifted.
Try making up a simple name for your dish instead, like “birthday cake cookies” or “pink tiedye cupcakes.”
My personal favorite, though, is to compare my food to a well-known dish. For example, when Instagramming a homemade ice cream cake, I captioned it, “Carvel has nothin’ on me.”
But, if you can’t think of anything creative, keep it simple and use an emoji.
Step 5: Don’t Delete
Now that you’ve posted your masterpiece, wait for your phone to start vibrating with likes.
Don’t panic if it takes a few minutes for someone to like it; some people have lives and aren’t attached to their phones, believe it or not.
Whatever you do, don’t chicken out and delete it.
Step 6: Location
If you become a frequent foodstragrammer like me, start up your own location for all of your pics. Just don’t go stealing “my nonexistent bakery.”

Taylor Harrington ’15 has been through the ropes before. As Breaking News
Managing Editor, Harrington enters her second year on Inklings with a prestigious
position...